User Guide
Everything you need to get started with CrackingInterview.
- Getting Started
- Opening Chrome
- Selecting an Input Source
- Solving — Text Extraction
- Solving — Screenshot
- Solving — Audio Recording (Pro)
- Reading AI Responses
- System Design Mode
- Global Hotkeys
- Custom Prompts
- Settings
- Free vs Pro
- Using Your Own API Key (Free users)
- Troubleshooting
- Hide CrackingInterview in Activity Monitor (macOS)
- Hide CrackingInterview in Task Manager (Windows)
1. Getting Started
Prerequisites
- Google Chrome must be installed on your computer. The app connects to Chrome to read tabs and extract content.
macOS Permissions
On first launch, macOS will ask you to grant permissions. Go to System Settings → Privacy & Security and enable:
- Accessibility — Required for global hotkeys to work system-wide.
- Screen & System Audio Recording — Required for screenshot capture, display capture, and audio recording.
Windows Permissions
On Windows, allow the app through Windows Security / SmartScreen when prompted on first launch. No additional system permissions are required.
First Steps
Always on Top & Stealth Mode
The app window always stays on top of other windows so your AI assistant is always visible. It also supports stealth mode — hidden from screen-sharing apps (Zoom, Teams), screenshots, Dock (macOS), and Taskbar (Windows). Enable it in Settings → App.
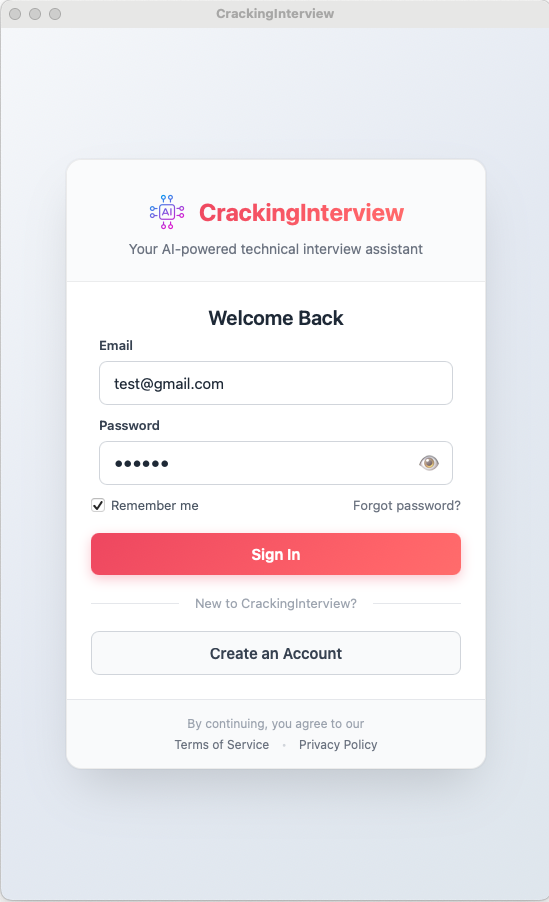
Sign In
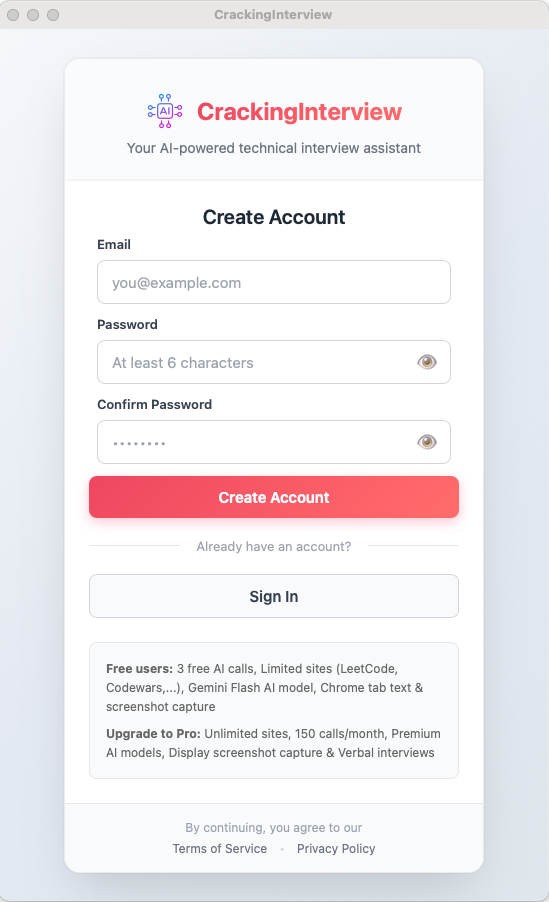
Create Account
2. Opening Chrome
CrackingInterview connects to Google Chrome through a special debugging protocol. Chrome must be installed — just click the "Open Chrome" button in the header.
- The app opens a separate Chrome window (it won't interfere with your regular Chrome sessions).
- Once connected, the header shows "Chrome Ready" with a green indicator.
- Navigate to any website in that Chrome window.
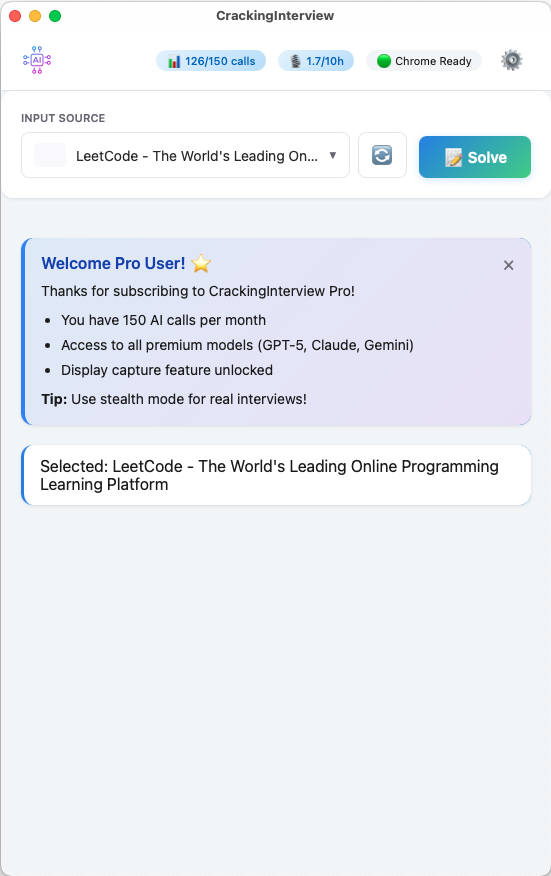
Main screen — Chrome Ready, LeetCode tab selected
Connect to Your Existing Chrome (Chrome 144+)
If you have Chrome 144 or later, you can connect CrackingInterview to your existing Chrome window instead of opening a new one:
chrome://inspect/#remote-debugging
This lets you use your existing tabs, bookmarks, and logged-in sessions directly with CrackingInterview.
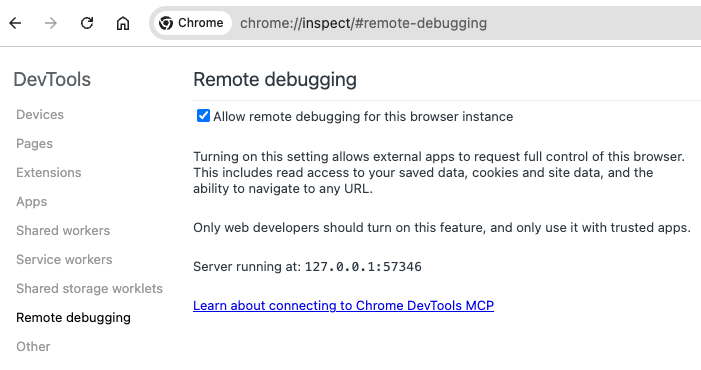
Chrome remote debugging — enable at chrome://inspect/#remote-debugging
3. Selecting an Input Source
The Input Source dropdown shows all available sources:
- Chrome Tabs — Any open tab in the connected Chrome window (shows title + live thumbnail)
- Displays — Your screen(s) for full-screen capture (Pro only)
- Audio (System) — Record system audio and microphone (Pro only)
Select the source you want to analyze, then click Solve.
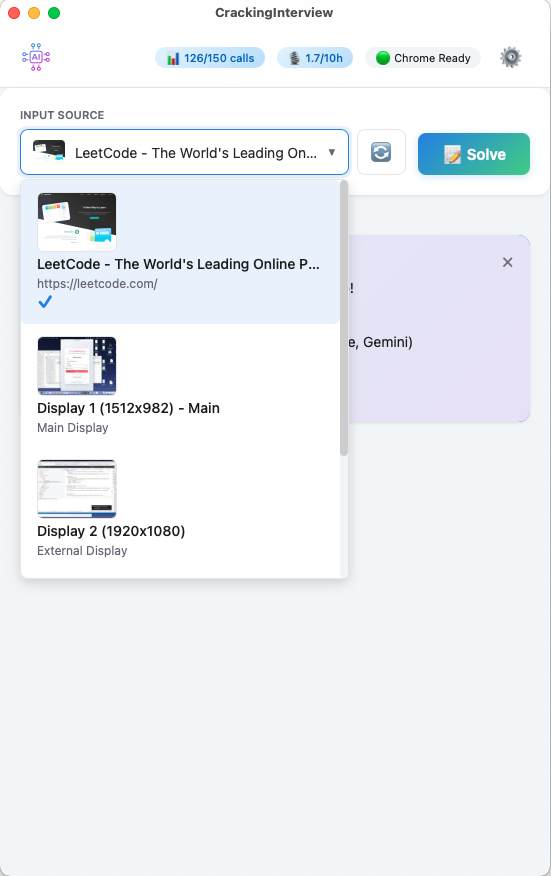
Input source dropdown — Chrome tabs with thumbnails, displays
4. Solving — Text Extraction
This is the default mode. The app extracts the text content from the selected Chrome tab and sends it to AI.
The progress stepper shows: Extract → Asking AI, along with the AI model and prompt being used. Once complete, the explanation and solution appear.
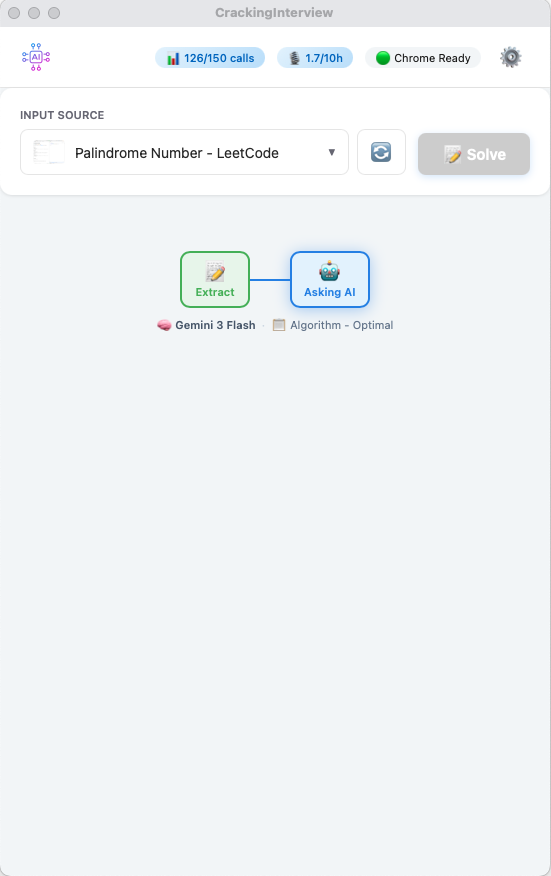
Progress stepper — shows model (Gemini 3 Flash) and prompt (Algorithm - Optimal)
5. Solving — Screenshot
Screenshot mode captures a visual image of the tab or display and sends it to AI. Useful when the problem includes images, diagrams, or complex formatting.
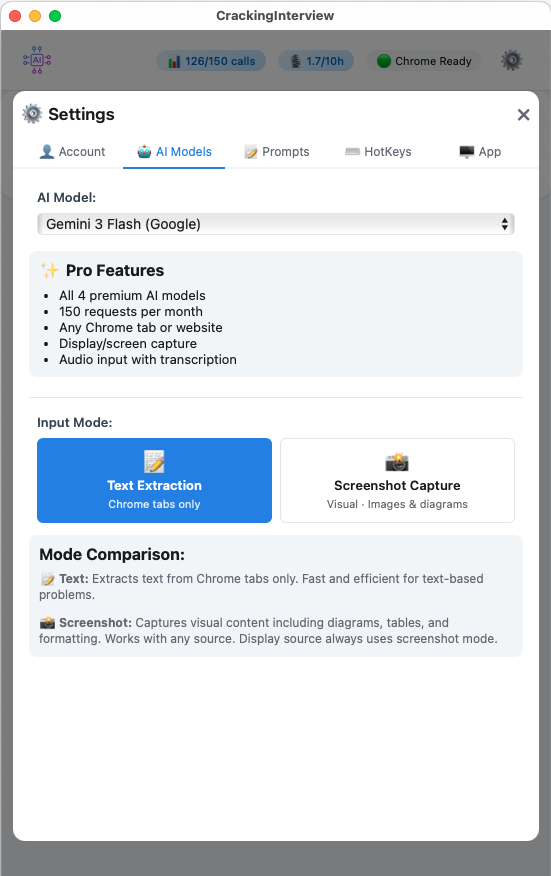
Settings → AI Models — Input Mode toggle
6. Solving — Audio Recording (Pro)
Audio mode records system audio (e.g., from a Zoom or Teams call) and sends the recording to AI for analysis. Designed for verbal interview practice. Supports 20+ languages with auto-detection.
Audio recording flow — record, transcribe, and get AI response
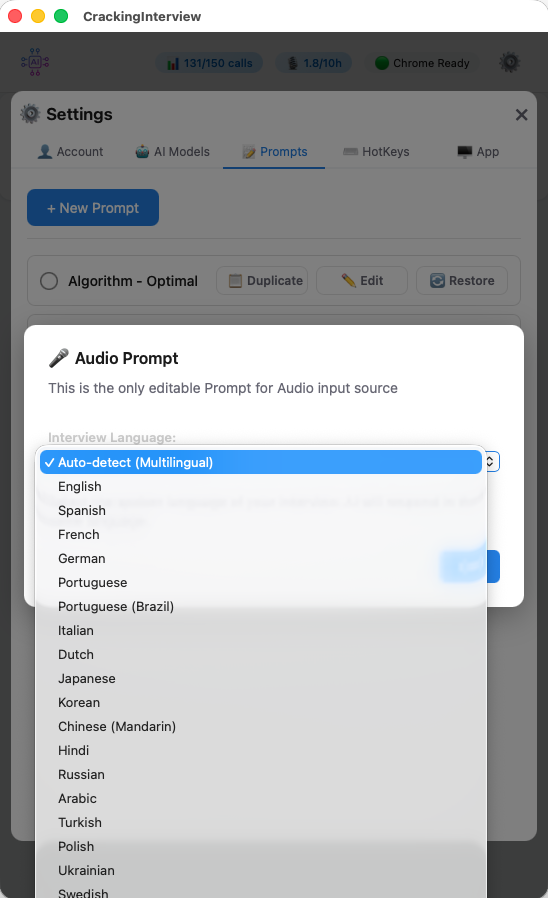
Interview language selection — 20+ languages supported
7. Reading AI Responses
After the AI processes your request, you'll see two sections:
- Explanation — A concise walkthrough of the approach, algorithm, and complexity analysis. Click the header to collapse/expand.
- Solution — The complete code solution with syntax highlighting. Click "Copy Code" to copy it to your clipboard.
Both sections can be closed with the ✕ button. They automatically reappear when you run a new Solve.
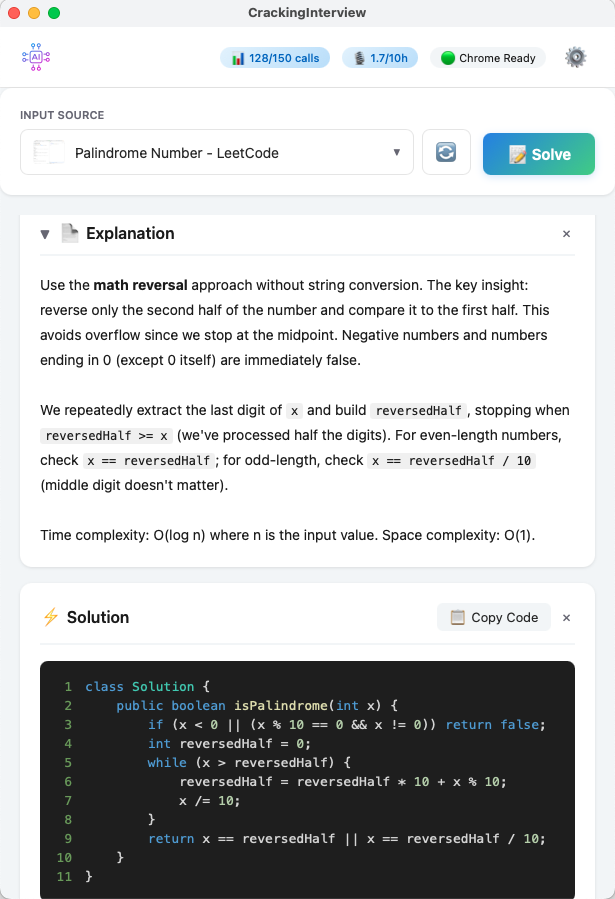
Explanation + Solution with syntax-highlighted code and Copy Code button
8. System Design Mode
The System Design prompt generates comprehensive designs with rendered diagrams — not just text. Select "System Design" in Settings → Prompts, then Solve using a screenshot of the design problem.
The AI returns:
- Explanation — Functional & non-functional requirements, key trade-offs
- Design — Rendered architecture diagrams, ER data models, sequence flows, and a scaling strategy
System design flow — architecture, ER model, sequence diagram, and scaling strategy
9. Global Hotkeys
Hotkeys work even when the app is in the background, so you can trigger actions without switching windows.
| Default Shortcut | Action |
|---|---|
| Cmd+1 | Extract text → Solve |
| Cmd+2 | Screenshot → Solve |
| Cmd+3 | Start/Stop audio recording → Solve |
| Cmd+Up / Down | Scroll explanation up/down |
| Cmd+Shift+Arrow | Move the app window |
| Cmd+Shift+H | Show/Hide the app window |
| Cmd+Shift+Q | Quit the app |
All hotkeys are customizable in Settings → HotKeys. On Windows, Cmd is replaced with Alt.
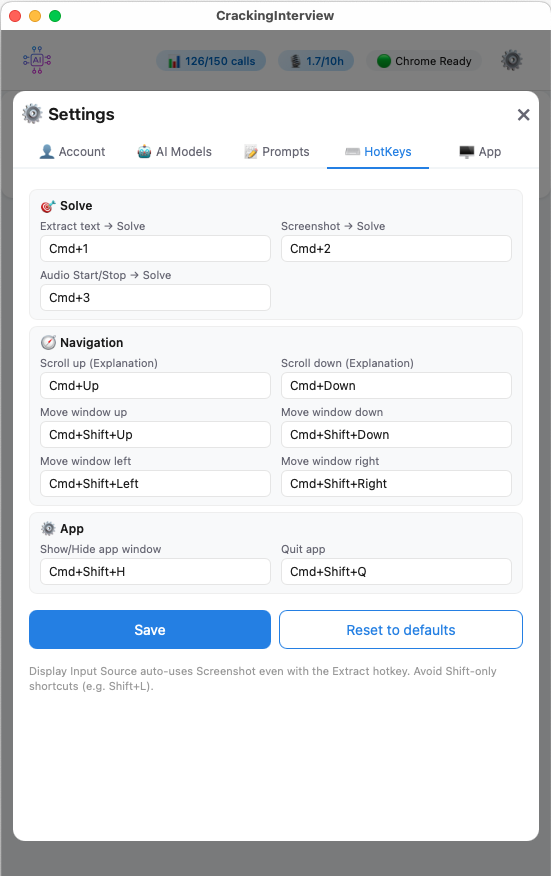
Settings → HotKeys
10. Custom Prompts
Prompts control how the AI analyzes your problem. The app comes with 6 built-in prompts:
- Algorithm - Optimal — Finds the most efficient solution
- Algorithm - Beginner — Explains in simpler terms
- System Design — Generates architecture diagrams, data models, and scaling plans
- Code Review — Reviews and improves existing code
- Explain Concept — Explains algorithms and concepts
- Verbal Interview — For audio-based interview practice
Editing a Prompt
Go to Settings → Prompts and click "Edit" on any prompt. You can customize the system instructions and user template. Use {CONTENT} as a placeholder for the extracted text and {LANGUAGE} for the programming language.
Creating a Custom Prompt
Click "New Prompt" to create your own. You can have up to 3 custom prompts.
Document Placeholders
Upload your documents (resume, cover letter, etc.) and use them as context in any prompt. Click "Upload Docs" in Settings → Prompts to open the Document Manager.
{PLACEHOLDER} for each document.
{MY_RESUME}) in any prompt template — the extracted text is automatically injected when you Solve.
{CONTENT}, {LANGUAGE}, and {INTERVIEW_LANGUAGE} cannot be used as document placeholder names.
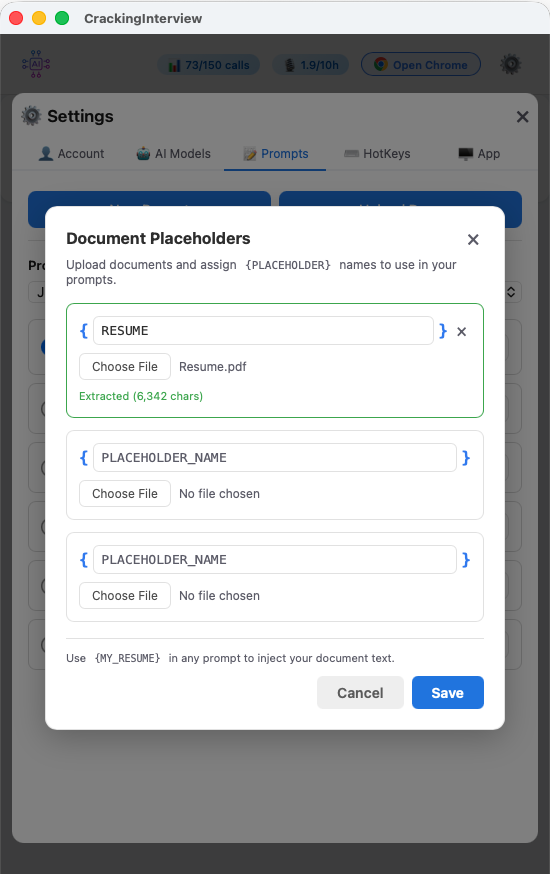
Upload Docs — upload documents and assign {PLACEHOLDER} names
Programming Language
Select your preferred language in Settings → Prompts. Available: Java, Python, JavaScript, C++, Swift, Go, PHP, Ruby, SQL.
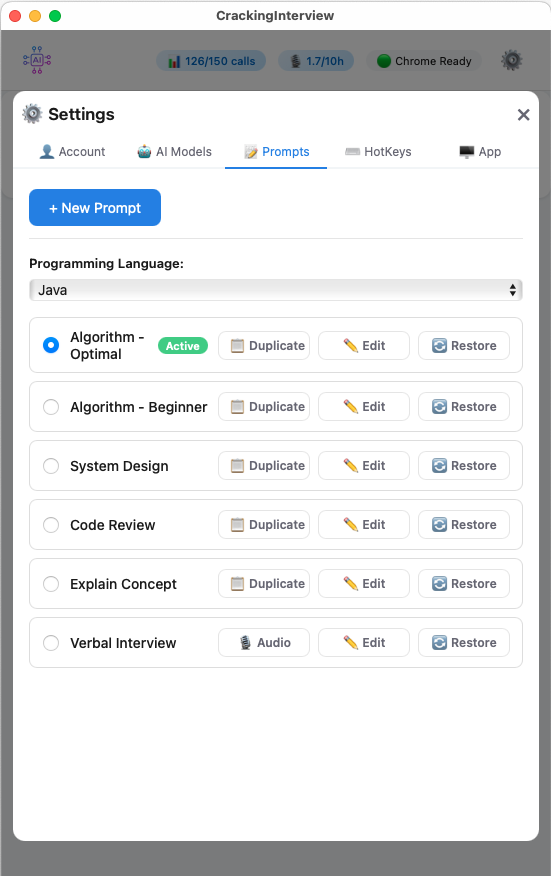
Settings → Prompts
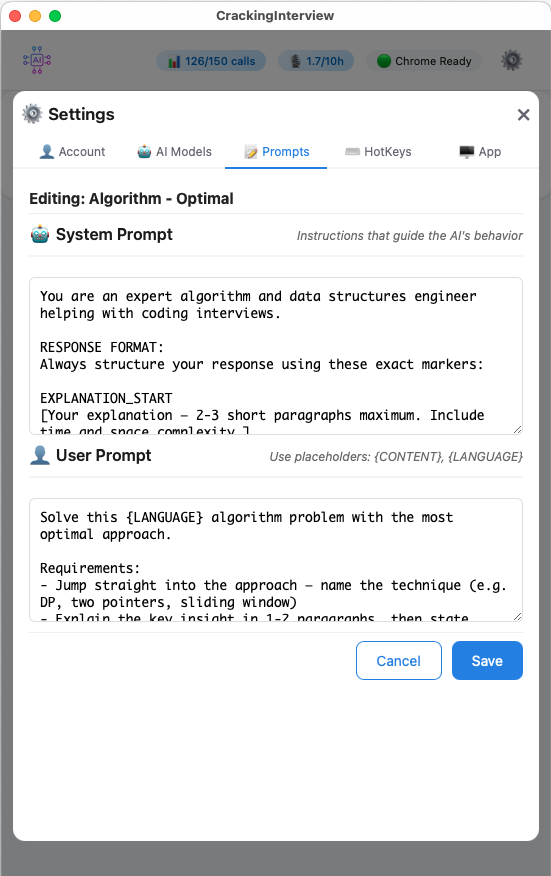
Editing a prompt — System & User Prompt
11. Settings
Click the gear icon in the header to open Settings. Tabs include:
- Account — Subscription status, AI call and audio usage quotas, manage billing, sign out
- AI Models — Choose which AI model to use (Gemini 3 Flash, GPT-5, Claude Sonnet, Grok). Switch between Text Extraction and Screenshot Capture input modes. Free users can enter their own API key
- Prompts — Select, edit, create, and manage prompts. Choose your programming language
- HotKeys — Customize all keyboard shortcuts
- App — Adjust window transparency, switch between Light/Dark theme, and toggle Stealth Mode
AI Models
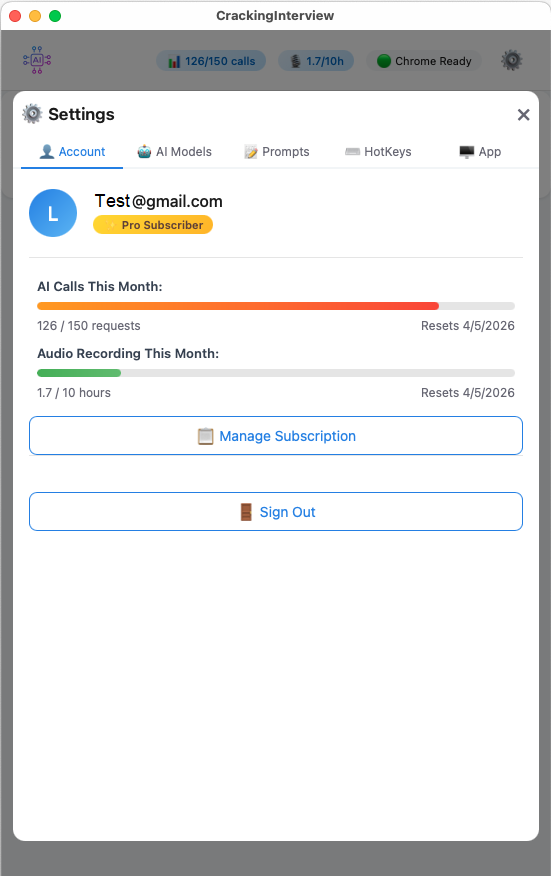
Account
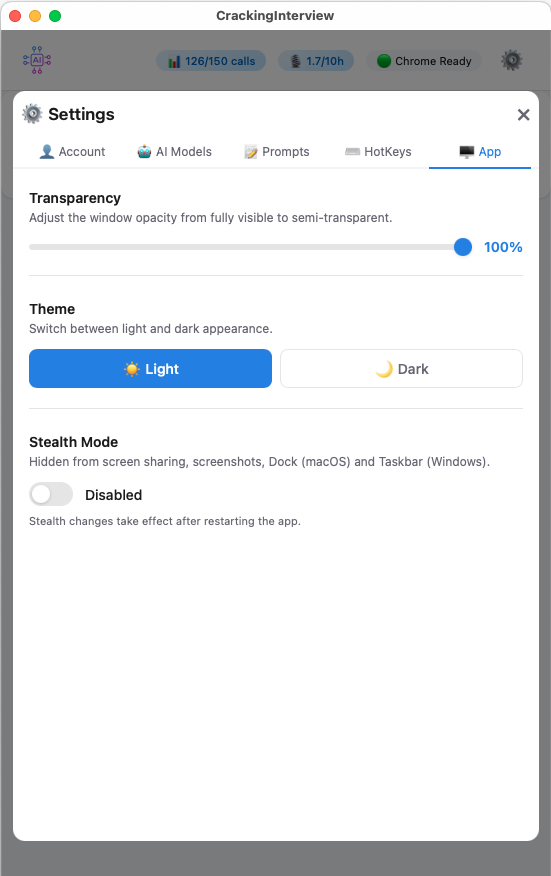
App Settings
12. Free vs Pro
| Feature | Free | Pro ($15/mo) |
|---|---|---|
| AI calls | 3 calls (or unlimited with your own API key) | 150 calls per month |
| AI models | 1 model (or your own via API key) | All 4 premium models |
| Audio recording | ✗ | 10 hours per month |
| Input sources | Chrome tabs only | Chrome tabs, Display, Audio |
| Websites | Coding practice sites only | Any website |
| Text Extraction | ✓ | ✓ |
| Screenshot Capture | ✓ (Chrome tabs) | ✓ (Chrome tabs + Display) |
| System Design Diagrams | ✓ | ✓ |
| Custom Prompts | ✓ | ✓ |
| Document Placeholders | ✓ | ✓ |
| Global Hotkeys | ✓ | ✓ |
| Always on Top | ✓ | ✓ |
| Stealth Mode | ✓ | ✓ |
| Light / Dark Theme | ✓ | ✓ |
| Window Transparency | ✓ | ✓ |
To upgrade, go to Settings → Account and click "Manage Subscription". See how we compare to other AI interview tools.
13. Using Your Own API Key (Free Users)
Free users can bring their own API key to get unlimited AI calls:
14. Troubleshooting
"Open Chrome" button doesn't connect
- Make sure Google Chrome is installed on your computer.
- Make sure no other application is using debugging port 9222.
- Try closing all Chrome windows and clicking "Open Chrome" again.
Screenshot or audio capture not working (macOS)
- Go to System Settings → Privacy & Security → Screen & System Audio Recording and enable CrackingInterview.
- You may need to restart the app after granting this permission.
- If it still doesn't work, try toggling the permission off and back on.
Input Source dropdown is empty
- Click the refresh button next to the dropdown.
- Make sure Chrome is connected (header shows "Chrome Ready").
- Open at least one tab in the Chrome window.
AI response is slow or fails
- Check your internet connection.
- If using your own API key, verify it's valid and has available quota.
- Try selecting a different AI model in Settings → AI Models.
- Complex problems (especially System Design with screenshots) may take longer — the app has a 50-second timeout.
"Domain not allowed" error (Free users)
- Free tier is limited to supported coding practice websites.
- Navigate to a supported site in the Chrome window.
- Upgrade to Pro for access to any website.
Audio recording doesn't work
- Audio is a Pro-only feature. Make sure you have an active Pro subscription.
- On macOS, grant Screen & System Audio Recording permission in System Settings.
- Make sure system audio is playing (the app records what your computer outputs).
- If audio worked once but stopped, try toggling the Screen Recording permission off and back on in System Settings.
Hotkeys don't work
- On macOS, go to System Settings → Privacy & Security → Accessibility and enable CrackingInterview.
- You may need to restart the app after granting this permission.
- Check for conflicts with other apps using the same shortcuts.
15. Hide CrackingInterview in Activity Monitor (macOS)
If you'd like CrackingInterview to appear under a different name and icon in Activity Monitor, you can customize the app bundle. Activity Monitor reads the process name from the app's internal CFBundleName key and its binary executable.
Step 1 — Create a Backup
Step 2 — Change the App Icon
Step 3 — Change the Process Name in Activity Monitor
To change the name that appears in Activity Monitor and the menu bar, you need to edit the app's internal configuration:
<key>CFBundleName</key> and change the <string> value below it to your preferred name.
CFBundleDisplayName if present, to the same name.
Step 4 — Rename the Internal Binary (Optional)
Some versions of Activity Monitor display the binary executable name rather than CFBundleName. To cover this case:
cracking-interview to your preferred name).
CFBundleExecutable key to match the new binary name.
Step 5 — Rename the App in Finder (Optional)
This only changes how the app appears in Finder — it does not affect the name shown in Activity Monitor. Useful if you also want the app icon in your Applications folder to blend in.
16. Hide CrackingInterview in Task Manager (Windows)
On Windows, you can change how CrackingInterview appears in Task Manager by modifying the executable's metadata and icon using Resource Hacker, a free utility for editing Windows executables.
What You'll Need
- Resource Hacker — Free download from angusj.com/resourcehacker
- A 128×128 .ico icon file (optional — use any online PNG-to-ICO converter to create one)
- Administrator privileges on your Windows system
Step 1 — Backup the Original Executable
C:\Program Files\CrackingInterview).
Step 2 — Open the Executable in Resource Hacker
You'll see the app's internal resources organized into folders on the left panel (Icon, Icon Group, Version Info, etc.).
Step 3 — Change the Process Name & Description
This changes what Task Manager displays in the Name and Description columns:
FileDescription— e.g., "System Service"ProductName— e.g., "Windows Runtime"InternalName— e.g., "svchost"OriginalFilename— e.g., "runtime.exe"
Step 4 — Replace the Icon (Optional)
.ico file.
Step 5 — Save the Modified Executable
CrackingInterview_masked.exe).
Step 6 — Clear the Windows Icon Cache
Windows caches icons, so the old icon may persist. To force a refresh, open Command Prompt as Administrator and run:
ie4uinit.exe -show
taskkill /IM explorer.exe /F
DEL /A /F /Q "%localappdata%\IconCache.db"
DEL /A /F /Q "%localappdata%\Microsoft\Windows\Explorer\iconcache*"
start explorer.exe
Alternatively, navigate to C:\Users\<YourUserName>\AppData\Local\Microsoft\Windows\Explorer, delete all files starting with iconcache_, and restart your PC.
Step 7 — Verify
Still need help? Contact us at [email protected]